Your yoga mat catches what the studio floor does not: sweat, skin cells, bare feet, pet hair, and whatever came home on the bottom of your socks. It is also the surface your hands, face, and body touch repeatedly. Knowing how to disinfect yoga mats properly helps reduce germs without leaving behind the harsh chemical residue that can irritate skin or break down the mat you paid for.
The goal is not to douse your mat in the strongest-smelling cleaner you can find. It is to use an effective disinfectant correctly, respect the material, and give the product enough time to work.
Cleaning vs. disinfecting a yoga mat
These terms are often used interchangeably, but they do different jobs. Cleaning physically removes visible sweat, dirt, body oils, and debris. Disinfecting uses a product designed to kill or deactivate certain germs on a surface.
A quick wipe after class may make a mat look clean, but it does not automatically disinfect it. Likewise, spraying a disinfectant onto a mat covered in sweat and immediately rolling it up is not a reliable hygiene routine. Soil can interfere with a disinfectant's performance, and most disinfectants need a specific amount of surface contact time to work.
For a mat used in a quiet at-home practice, regular cleaning may be enough most days. Disinfection makes more sense after a hot yoga session, a shared class, illness in the household, contact with public gym floors, or whenever the mat has been used by multiple people.
What to use to disinfect yoga mats
Start with the mat manufacturer's care instructions. Material matters. Some mats tolerate gentle cleaners well, while others can become brittle, sticky, faded, or slippery when exposed to alcohol, bleach, essential oils, or strong detergents.
Choose a disinfectant that is clearly labeled for the germs you want to address, then follow its use directions exactly. In the United States, that usually means choosing an EPA-registered disinfectant for surface disinfection. The label is not fine print - it tells you where the product can be used, whether pre-cleaning is required, and how long the surface must remain wet.
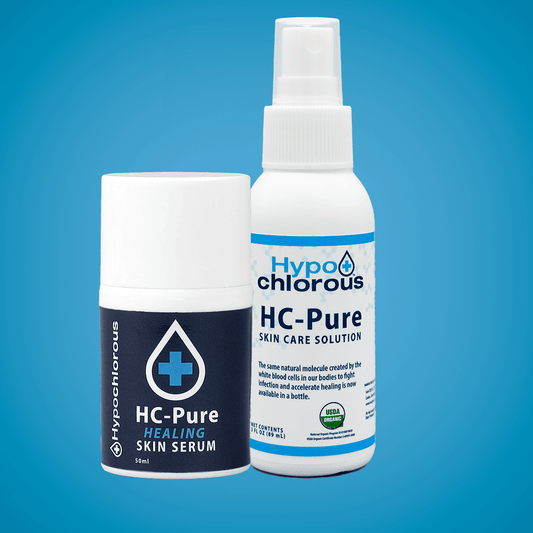
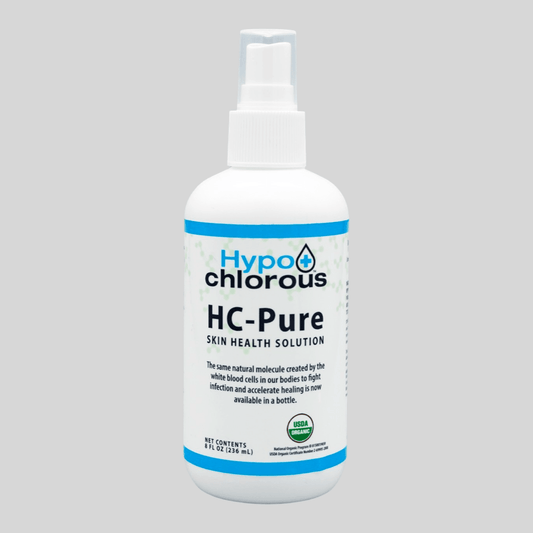
Hypochlorous acid is a smart option for health-conscious homes because it can deliver powerful germ protection without the heavy fragrance or harsh residue associated with many conventional cleaners. An EPA-registered hypochlorous acid disinfectant, such as one from Hypochlorous Company, should still be used according to its label directions, especially when you are disinfecting rather than simply freshening a surface.
Avoid assuming that DIY vinegar sprays, water with a few drops of essential oil, or diluted soap are disinfectants. They can be useful for light cleaning, depending on the mat, but they are not a substitute for a product with validated disinfection directions.
How to disinfect yoga mats step by step
A careful routine takes only a few minutes of active time. The part that cannot be rushed is the contact time.
1. Check the mat and remove loose debris
Unroll the mat on a clean surface and inspect both sides. Shake off dust, hair, crumbs, or grass. If there is visible dirt, mud, or a buildup of body oils, clean that away first with a mat-safe cleaner or a damp cloth as directed by the manufacturer.
Do not disinfect over a visibly dirty surface and assume the job is done. A clean surface gives the disinfectant a better chance to perform as intended.
2. Spot-test if the material is new to you
If you have never used a product on the mat before, test a small, hidden corner. Let it dry completely, then check for discoloration, tackiness, peeling, or a changed texture. This matters most for natural rubber, cork, suede-like finishes, and premium polyurethane mats.
A disinfectant can be highly effective and still be the wrong fit for a particular material. Mat care is not one-size-fits-all.
3. Apply enough product to wet the surface
Spray or apply the disinfectant evenly across the side of the mat you used. The surface should be visibly wet, not merely misted. Use a clean microfiber cloth to spread the product across the full mat, including the edges where sweat and skin oils can collect.
Treat the underside, too, if it touched a studio floor, gym floor, outdoor surface, or shared space. Use a separate clean cloth or a fresh side of the cloth so you do not move floor debris back onto the top surface.
4. Keep the mat wet for the full contact time
This is where many routines fall short. Every EPA-registered disinfectant has a label-specified contact time. That is the period the product must remain visibly wet on the surface to disinfect effectively.
Do not spray and wipe immediately unless the product label specifically tells you to do that. If the mat dries before the contact time is complete, reapply enough product to keep it wet. A few extra seconds of care can make the difference between a mat that smells clean and one that has actually been disinfected as directed.
5. Air-dry fully before rolling it up
Once the contact time is complete, let the mat air-dry flat in a well-ventilated area. If the label requires rinsing or wiping after disinfection, follow that instruction. Do not roll the mat while it is damp. Trapped moisture can create odor, encourage mildew, and weaken some materials over time.
Keep the mat away from direct heat and prolonged sun unless its care instructions say otherwise. Heat can dry out rubber, warp foam, and shorten a mat's life.
How often should you disinfect a yoga mat?
For most people, clean the mat after every sweaty practice and disinfect it when the situation calls for it. If you practice gentle yoga alone at home and the mat stays dry, disinfecting once a week or every few uses may be reasonable. If you attend heated classes, use a communal studio, share equipment, or practice while someone in your home is sick, disinfect after each use.
The right frequency depends on exposure, sweat, and the people or pets around the mat. A mat used for daily floor workouts, toddler play, or stretching beside a dog bed has different hygiene needs than one stored in a private home office.
Care tips by yoga mat material
PVC mats are generally among the easiest to maintain because they are less absorbent and more tolerant of moisture. Even so, avoid abrasive scrubbers that can damage the textured grip.
Natural rubber mats need a gentler approach. Strong alcohol-based products, bleach, and prolonged soaking can dry out or degrade rubber. Use a compatible disinfectant, avoid oversaturating the mat, and allow it to dry completely away from heat.
Cork mats can be especially sensitive because cork is naturally porous. Do not soak them or leave pools of product sitting on the surface. Apply a light, even layer, follow the required contact time, and let the mat dry flat.
Polyurethane and suede-like mats often have excellent grip but require more caution. Friction, aggressive wiping, and the wrong cleaner can affect their finish. Always follow the brand-specific care instructions before adding any disinfectant to your routine.
Common mistakes that make mats less clean
The most common mistake is using too little product and wiping it away too fast. Another is using a fragranced cleaner that leaves a slick film behind, which can make poses less stable and put irritating residue against your skin.
Also skip the temptation to mix cleaners. Combining products can create irritating fumes, damage the mat, or reduce the performance of the ingredients. One compatible product, used as directed, is safer than a cabinet full of competing chemicals.
Finally, do not forget your mat bag. A freshly disinfected mat placed into a dirty, damp bag can pick up odor and grime all over again. Let both dry fully, and clean the bag regularly.
A yoga mat should support your practice, not add another question mark to your family's hygiene routine. Choose a surface-safe disinfectant, give it the contact time it needs, and let your mat dry completely. That small ritual keeps your space feeling clean, your grip dependable, and your next savasana a little easier to settle into.