Your makeup brushes touch foundation, concealer, cream blush, skin oils, and sometimes a fresh breakout before they ever touch your makeup bag again. Learning how to sanitize makeup brushes is a small routine with a big payoff: cleaner application, less product buildup, and fewer unwanted irritants pressed back onto your skin.
A brush can look perfectly fine while holding onto old makeup, moisture, and everyday grime. The goal is not to flood it with harsh chemicals or scrub it until the bristles fray. It is to clean away residue regularly, sanitize when appropriate, and dry every brush completely before the next use.
Cleaning vs. sanitizing makeup brushes
These terms are often used interchangeably, but they do different jobs. Cleaning removes visible makeup, oils, powders, and grime from the bristles. Sanitizing helps reduce germs on a clean surface or tool when used correctly.
That distinction matters because sanitizer cannot work through a thick layer of dried foundation. If your brush is coated with product, wash it first. Think of sanitizing as the between-wash hygiene step, not a shortcut around a proper deep clean.
For brushes used around the eyes, on blemish-prone skin, or by more than one person, this extra step can be especially useful. Sharing makeup tools is never ideal, but if it happens, washing and sanitizing them properly is the smarter, safer move.
What you need for a brush-safe routine
You do not need a drawer full of specialty cleaners. A gentle brush cleanser or mild fragrance-free soap, lukewarm water, a clean towel, and a sanitizer compatible with cosmetic tools are enough for most routines.
Avoid reaching for bleach, strongly fragranced household cleaners, or anything that leaves a sticky coating behind. Makeup brushes sit directly against delicate facial skin, often near the eyes and lips. A cleaner that works hard on a countertop is not automatically the right choice for brush fibers.
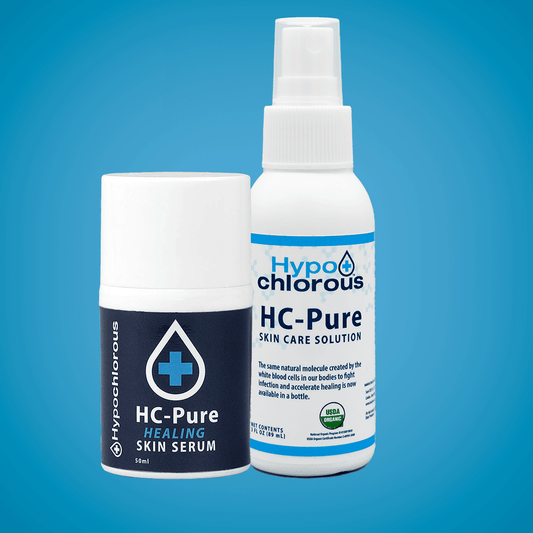
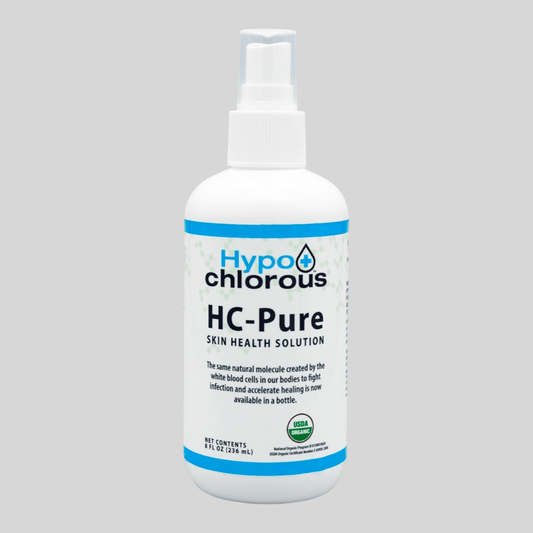
A properly formulated hypochlorous acid spray can be a useful low-residue option for quick brush sanitizing. It is made from ingredients your body already recognizes and can offer high-performance hygiene without the sharp fumes or heavy chemical smell many households are trying to avoid. As with any product, use it only as directed on its label and make sure it is suitable for the materials in your brushes.
How to sanitize makeup brushes between washes
Sanitizing is quickest when the brush is already mostly clean. If you have just used a powder brush or a brush has only light product on it, follow this simple process.
First, wipe excess makeup onto a clean tissue or towel. This prevents the sanitizer from mixing with a layer of pigment and pushing residue deeper into the bristles.
Next, lightly mist the bristles with your brush-safe sanitizing spray. You want the fibers evenly damp, not dripping wet. Keep the spray focused on the bristles and away from the metal ferrule, which is the metal band connecting the brush head to the handle. Repeatedly soaking that area can loosen glue over time.
Gently wipe the bristles across a clean towel, reshaping the brush as you go. Then lay it flat on a clean, dry towel with the brush head extending over the edge of a counter if possible. This allows air to circulate and keeps moisture from running down into the handle.
Let the brush dry completely before using it on your face or putting it back into a closed makeup bag. A damp brush inside a dark, enclosed case is not a clean-storage win. It is an invitation for moisture and odor to linger.
When a quick spray is enough
A light sanitizing step makes sense after a single use with powder products, after travel, or whenever you want to freshen brushes between weekly washes. It is also helpful for tools that collect surface debris easily, such as brow spoolies, powder brushes, and blush brushes.
But cream products, liquid foundation, concealer, and heavily pigmented makeup need more than a mist. Their oils and waxes cling to bristles. Those brushes need a real wash.
How to wash makeup brushes properly
For most people, foundation, concealer, blush, and eye brushes should be washed about once a week. If you have acne-prone or sensitive skin, use liquid and cream products daily, or work as a makeup artist, wash them more often. Clean tools are one of the easiest ways to stop old product from becoming part of your skincare routine.
Start by wetting only the brush bristles with lukewarm water. Keep the handle and ferrule angled upward so water does not seep into the glued base. Hot water can weaken adhesive and damage delicate natural fibers, so keep the temperature comfortably warm, not hot.
Place a small amount of gentle cleanser in your palm or on a textured brush-cleaning mat. Swirl the damp bristles in the cleanser, working from the base outward with light pressure. Do not aggressively mash the brush head into your hand. That can bend fibers and shorten the life of your tools.
Rinse until the water runs clear. If you are washing a dense foundation brush, repeat the process until no makeup comes out when you press the bristles into a clean towel. One quick rinse is rarely enough for a brush that has been buffing liquid makeup all week.
Finally, squeeze out excess water with a clean towel, reshape the brush head, and lay it flat to dry. Give dense brushes extra time. They may feel dry on the outside while remaining damp at the center.
The brushes that need the most attention
Not every brush gets dirty at the same rate. A fluffy powder brush used only with translucent powder can usually go a little longer between deep washes than a dense foundation brush. The brushes most likely to hold onto oils, bacteria, and product buildup include:
- Foundation and concealer brushes
- Cream blush, contour, and bronzer brushes
- Eyeshadow brushes used with cream formulas
- Eyeliner brushes and lip brushes
- Brow spoolies and tools used around breakouts
Common mistakes that make brushes less clean
The biggest mistake is spraying a dirty brush and calling it done. Sanitizer is not a substitute for removing old makeup. Build-up changes how makeup applies, makes bristles stiff, and can leave your complexion looking patchy before your day even starts.
Another mistake is storing clean brushes in the same cup, bag, or drawer as unwashed tools. If your brush storage is dusty or your makeup bag has spilled powder inside, your freshly cleaned brushes are going right back into the problem. Wipe out storage containers regularly and let everything dry before closing it up.
Be cautious with DIY mixtures, too. Essential oils may smell clean but can irritate sensitive skin, while harsh alcohol-heavy formulas can dry out natural hair bristles and weaken brush glue with repeated use. More aggressive is not always more effective.
Build a routine you will actually keep
The best brush-cleaning schedule is the one that fits your real life. Try a quick sanitize-and-wipe step after using cream or liquid products, then set aside 10 minutes once a week for washing your most-used brushes. Give all brushes, storage cups, and makeup bags a more thorough reset every few weeks.
If your skin suddenly feels more reactive, your makeup starts applying unevenly, or your brushes have a stale smell, do not wait for the next scheduled wash. Clean them now. Your tools are part of what touches your face every day, and they deserve the same thoughtful care you give your skincare products.
A clean brush does more than protect your makeup investment. It gives your skin one less source of buildup, residue, and unnecessary exposure - which is exactly what a smarter personal-care routine should do.